Before a food can be freeze dried, there is prep work that must be done. Some foods are really quick and easy, especially with the right tools, others are more involved.
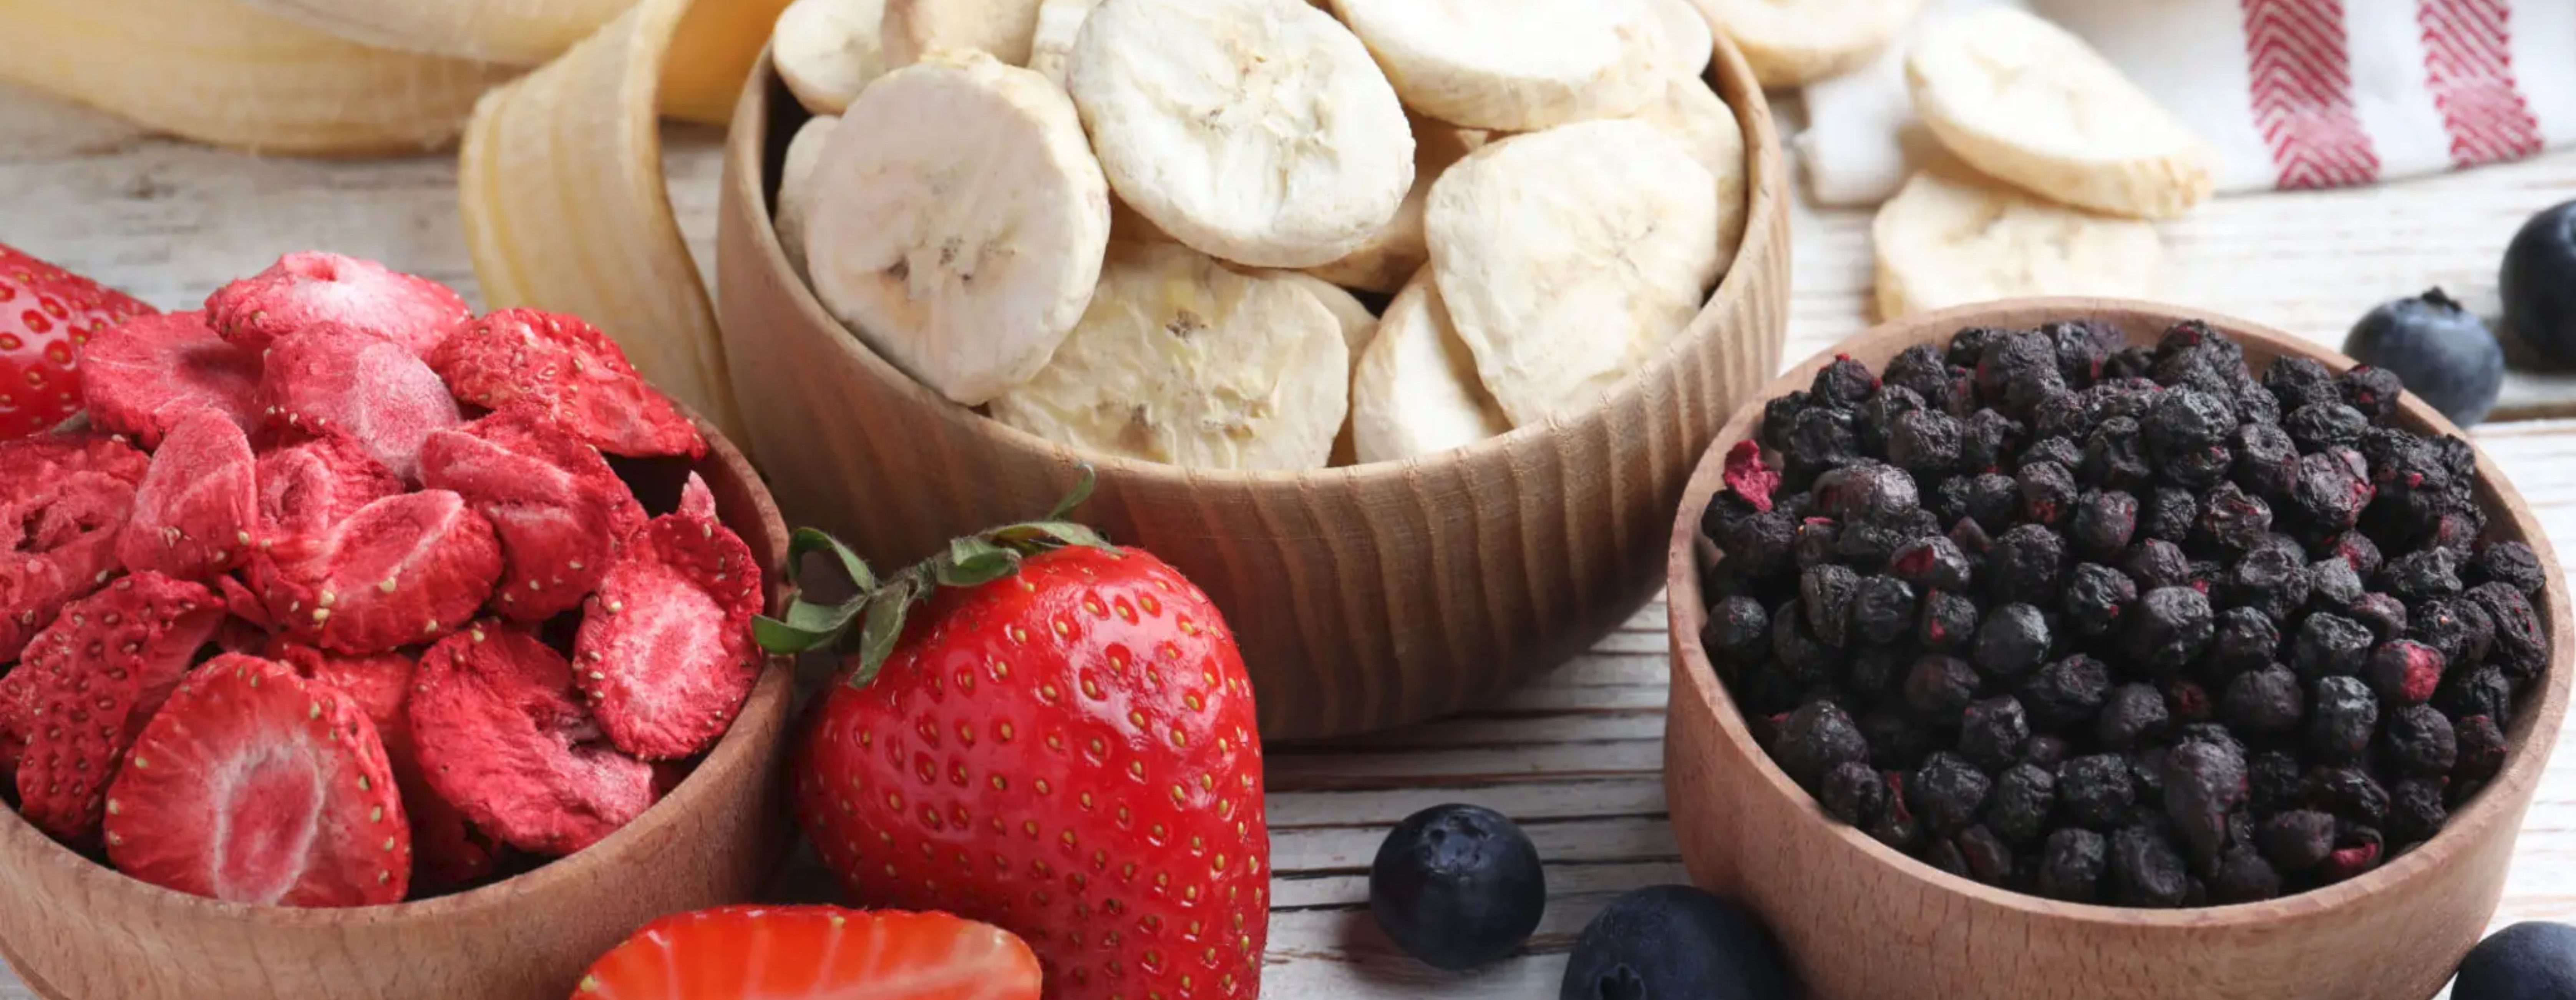
Step 1. Select the best food (fruit/veg in best condition, low fat options, freshest food, no freezer burn or excess ice, etc.) Freeze drying will preserve the food in it’s current state, so if you start with older food or food that is not at it’s peak, that is what is preserved.
Step 2. Be sure food is clean! Freeze drying does NOT kill bacteria or pathogens (or cook the food), so any that are on or in the food will also be preserved, waiting for the food to get moisture in it again. If possible, you’ll want to wash/dry the food (ideally using a produce wash or vinegar water), and/or cook it to help remove/kill any stuff you don’t want in your food. Also use safe food handling practices – clean hands, utensils, surfaces, etc. And be sure to cook raw food like meat or eggs after you re-hydrate it before you eat it, or for pet food- treat it as raw food.
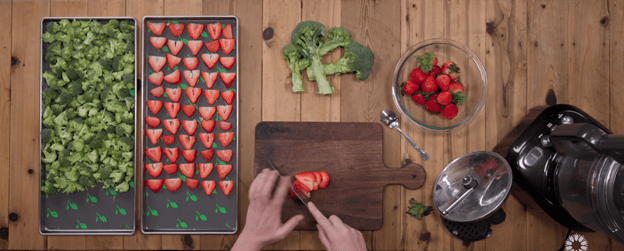
Step 3: Get the food to the right size/consistency. The larger the pieces, the longer it takes to draw the moisture from the center. So dicing into tiny pieces, slicing thin, or shredding will freeze dry the fastest, but bigger pieces will still freeze dry. Pieces can’t be more than 2″ tall or they won’t fit into the tray rack.
A food processor that can slice things to an even consistency or a mandolin are better than hand slicing. The batch will have to freeze for the amount of time it takes to get all the moisture out of the thickest/biggest piece.
If you plan to powder the item, then you want to puree it in a blender or food processor.
Also consider how you will USE the food and prepare it the same you would for fresh use. Do you need it bite size? Shredded? Sliced? Powdered? Patties? Whole? When you re-hydrate the food, it will be in the shape in which it was frozen (liquids/purees will be more powdered). So if you peel something before you eat/use it, you’ll want to peel it before you freeze it.
Step 4: Pre-treating. This is specific to certain foods and not all will need this step. I’ll cover proper prep for these foods below. It may include blanching or cooking, soaking in lemon water or some other acid, or ‘checking’.
Step 5: Pre-freezing. If you have a liquid or semi-solid food like a puree it will have to be done here on the trays that go in the machine. So bring it in a bag or container at refrigerator temperature. But if you have pieces of food, you’ll want to spread them out on a cookie sheet in your freezer and freeze them for at least 48 hours to ensure a solid freeze. Then you can dump them into a bag you keep in the freezer while you do the next batch. The pieces need to be separate! I need to be able to evenly spread them onto the trays, so I can’t work with a solid lump or clumps.
Step 6: Ensure food stays frozen during transport! You don’t want to freeze then thaw the food and then have it freeze again. So keep the food in your freezer and transport it in a cooler with ice or ice packs. I will put it in my freezer as soon as you arrive.
Foods that need pre-treating:
BONE BROTH– You can powder liquid bone broth, but the fat must be removed first. Put the broth in the fridge overnight, then remove the fat layer on top. What remains should be a gel with no bones or meat. Bring it refrigerated and I’ll pour it onto the trays to be pre-frozen. Also, be aware liquids take extra time in the machine to freeze dry.
FRUIT THAT TENDS TO GET BROWN WHEN CUT– Apples, bananas, etc.
These need an acid soak.
3 options for the acid:
Lemon Juice- Mix 1 part lemon juice to an equal part water, so 1 cup lemon juice would get 1 cup water.
Citric acid – mix 1 teaspoon to 1 quart of cold water.
Ascorbic acid – stir two and a half tablespoons of pure ascorbic acid crystals into 1 quart of cold water. For small batches you can use three and three quarters teaspoons into 2 cups of cold water.
- Mix the acid solution and put the cut food into it so it is fully covered.
- Allow to soak for 10 minutes, then remove with a slotted spoon and set on a paper or cloth towel and gently blot dry.
- Put parchment paper on a cookie sheet and spread the pieces out. Then put in the freezer for 48 hours to freeze them solid. If you don’t have space for multiple trays, you can freeze them in batches and put the frozen pieces into a bag in the freezer until you get the desired quantity.
POTATOES AND VEGETABLES
Blanching is REQUIRED for potatoes in any form! Otherwise they will turn black. Ewww.
It is optional for veggies, but it will make re-hydrating almost instant and will drastically improve the quality of the re-hydrated veggies over those that were not blanched. If you don’t want to mess with blanching, you can get the same benefits by fully cooking your potatoes/vegetables using as little fat or oil as possible. Fats/oils don’t freeze dry and can turn rancid if there is too much. An air fryer or boiling is a great way to cook without them!
Blanching can be done with boiling water or steam. All the details as well as a chart with blanching times for many vegetables can be found here: https://nchfp.uga.edu/how/freeze/freeze-general-information/blanching-vegetables/#gsc.tab=0
ANY BERRY/FRUIT WITH FIRM SKIN– Grapes, prunes, plums, cherries, figs, blueberries, huckleberries, etc.
These require “checking”, cutting, or poking because the skin holds in the moisture. Without this, these will take over 72 hours to freeze dry! You have to break the skin to allow the food to dry.
Checking process:
- Heat a pot of water to a rapid boil
- While waiting, prepare a bowl of water with a layer of ice cubes floating on top covering the surface.
- Use a strainer or slotted spoon to plunge the food into the rapidly boiling water. Leave them in until the skin begins to swell (30-60 seconds). Some might not visibly crack, but the water color will change.
- Remove from the boiling water and immediately plunge into the ice water. Leave them in long enough to fully cool. Even if skin cracks are not visible, the skin should be weak enough to crack when the food is frozen.
- Drain the with a colander/strainer but don’t mash them or you’ll lose flavor in the juice.
- Spread the pieces on a parchment lined cookie sheet and when all have been ‘checked’ put the sheet in the freezer for 48 hours.
If you have a small batch, you can also slice them or poke holes in them with a toothpick

MEAT–
All meat should be as lean as possible (remove as much of the visible fat as possible). Fat doesn’t have moisture to release, so it doesn’t freeze dry and isn’t shelf stable. But cooked fatty meat like bacon CAN be freeze dried and then stored in the freezer (a really tasty treat!) And bacon bits or slices can be added to freeze dried meals for short term storage, like on a weekend camping trip.)
Patties: (Hamburgers, turkey burger, chicken patties, fish fillets) These are best cooked before freeze drying. Use as little fat/oil as possible and then freeze completely (at least 48 hours) on parchment paper as separate pieces that I can lay out on the trays. This will be the best for re-hydration.
Shredded chicken, pork, etc. also re-hydrates better when it is cooked before freeze drying. And cooking makes it easier to shred.
Raw ground meat of any kind should be frozen here so I can spread it out onto the trays and fill the trays as completely as possible. If you want it in portions for dog food, you can freeze the portions like you would a patty.
Cooked ground meat can be frozen in your freezer, but you should keep breaking it up as it freezes so it is in small pieces and not big chunks.
